Printing practice
Alumina part with integrated internal channels
Printing the outer form and hidden channels as one body removes assembly seams and demonstrates digital control of internal geometry.
This KUNWU editorial note is based on the supplied technical source. Reported results belong to the described study or sample and are not KUNWU equipment specifications.
1. 3D model design
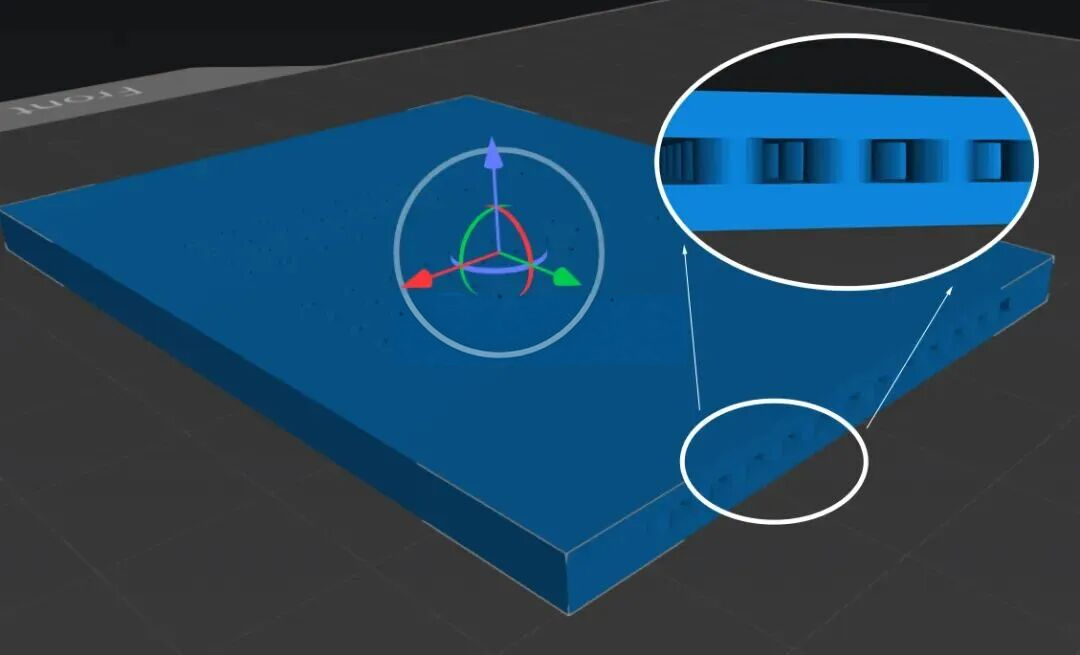
The picture below shows the 3D model of the sample: the appearance and internal flow channels are directly defined by the model, and subsequent printing and forming are directly driven by the design data.
2. Finished product display
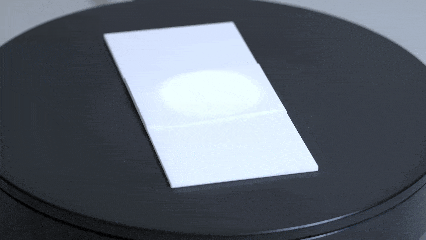
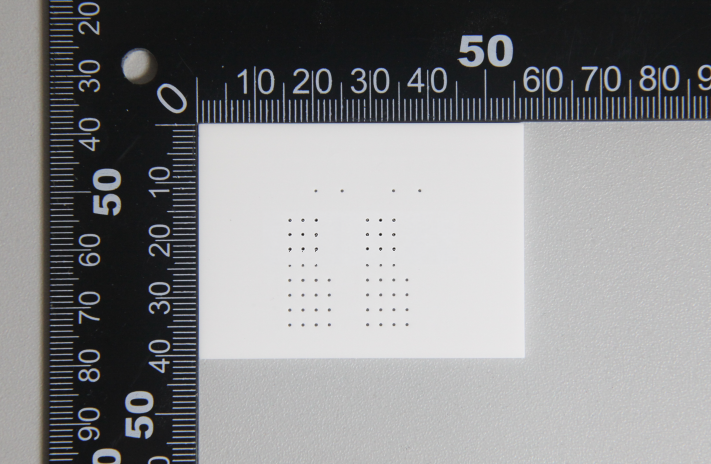
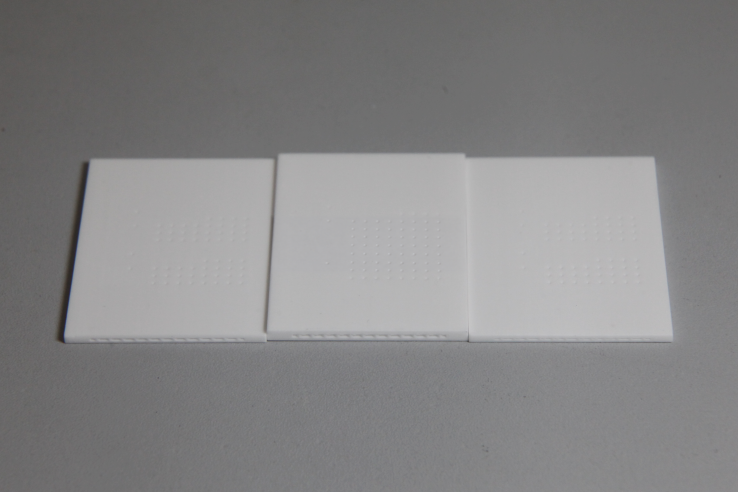
The following is an inner flow structure of aluminium oxide after formation. The surface looks like a flat white component, with a ruler intuitively presenting sample sizes, and with a rotational and side-set perspective, the existence and distribution of internal fluids on the plate can be seen.
3. Process flow and engineering key points of inner flow channel forming
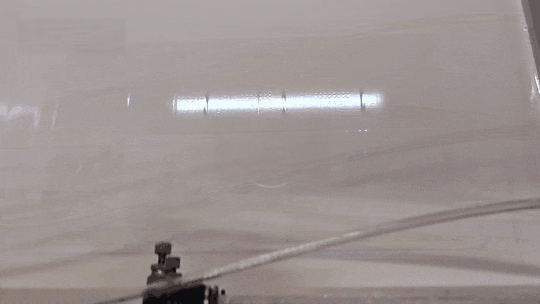
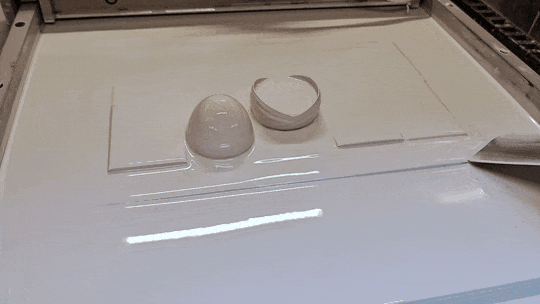
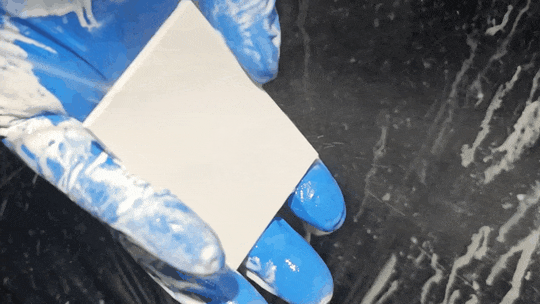
The following animated diagram depicts the complete production process of the sample from formation to reprocessing: first, it is printed layer by layer, then removed from the pick-up, then it is cleaned and removed from the unsettled slurry, and after defaminization, the finished product.
Flow channel forming accuracy control: The inner flow channel structure is fine, and the support of the slurry to the inner wall during light curing is limited. Small deviations in exposure parameters and layer thickness may cause the flow channel to collapse, block holes, or be partially missing.
Penetration and cleanliness: The internal flow channel must be fully connected without clogging; cleaning must completely remove the remaining uncured slurry in the flow channel, otherwise pores or even cracks may easily occur in the flow channel during high-temperature densification.
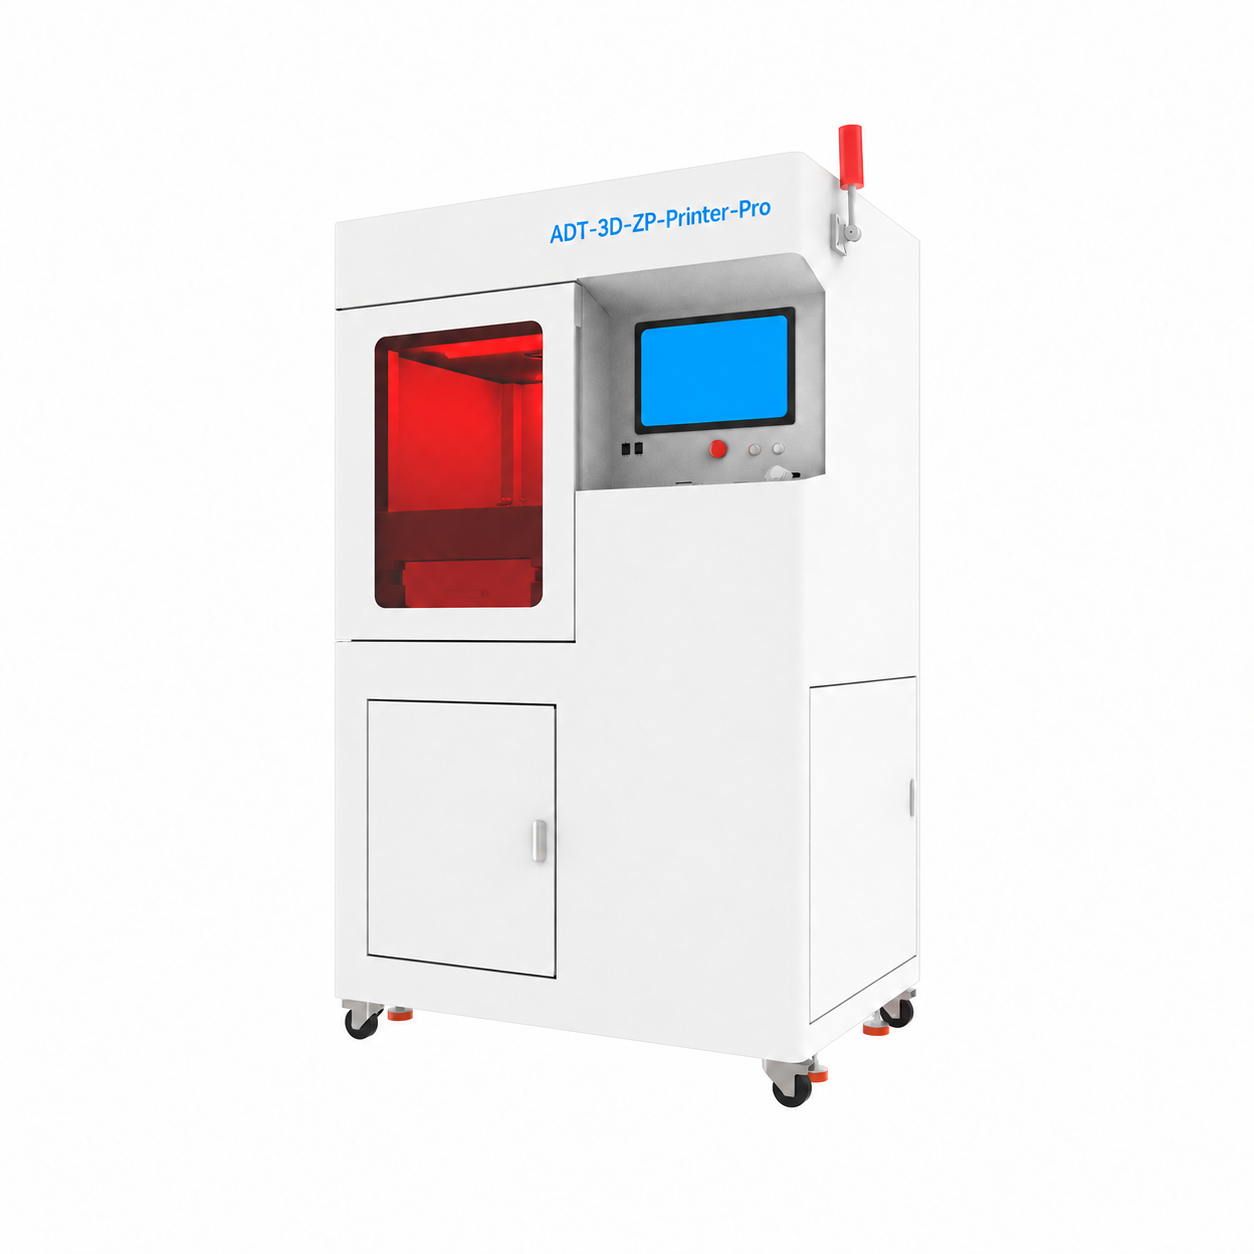
The sample in this case is printed with ADT Ceram-D-F288.